
Final Results of Recent Printing
Rainbow and Shadows
In previous posts I have shown you unmodified versions and preliminary work ups of images I have captured over the last few months. Since I have just in the last week or so finished printing and matting a number of them, it is time to bring you up to date.
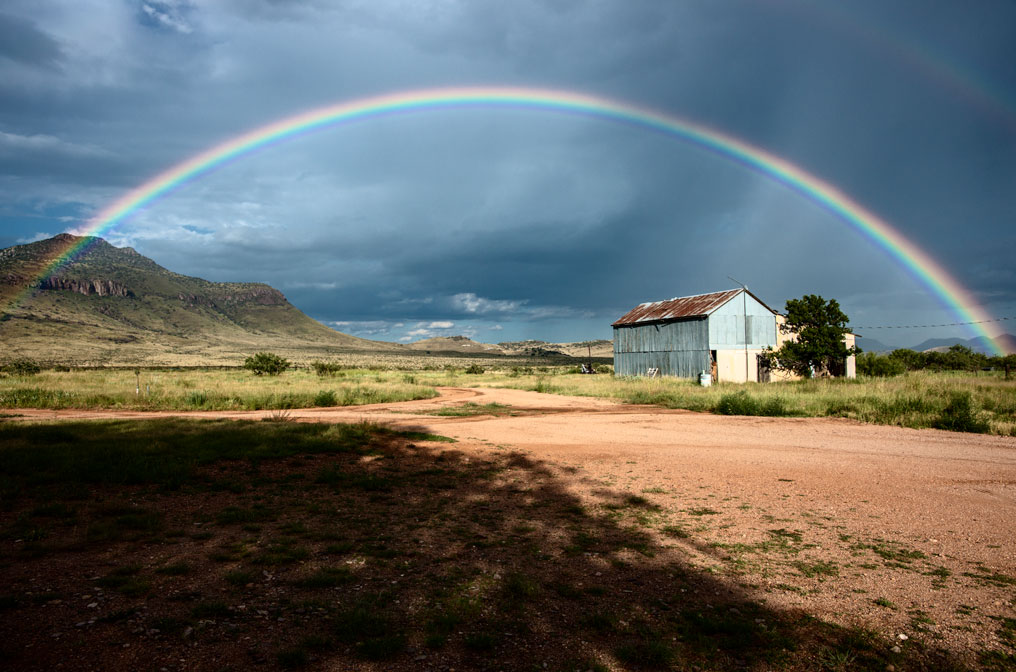
The above image was a casual capture on August 16th of this year. Until I looked at the raw image there was no thought of anything but a record image. But in the end, this was printed…
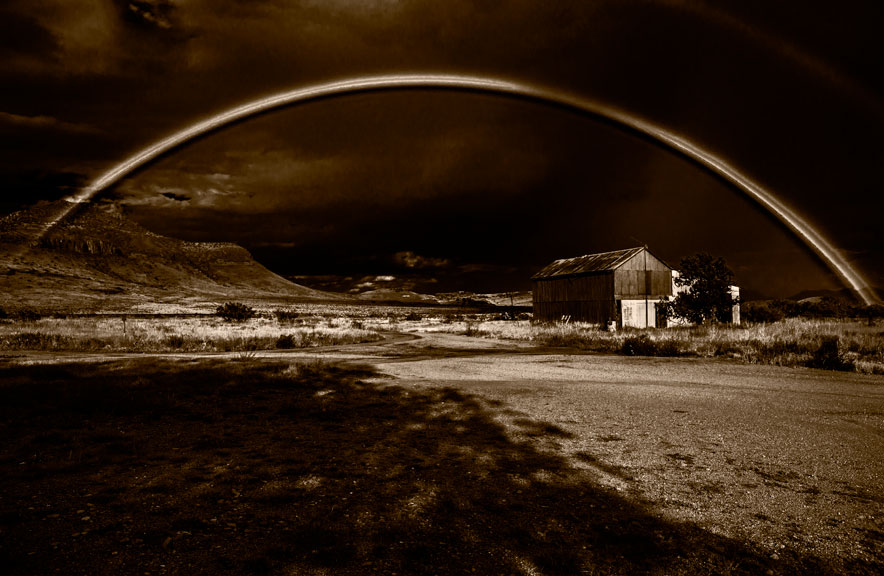
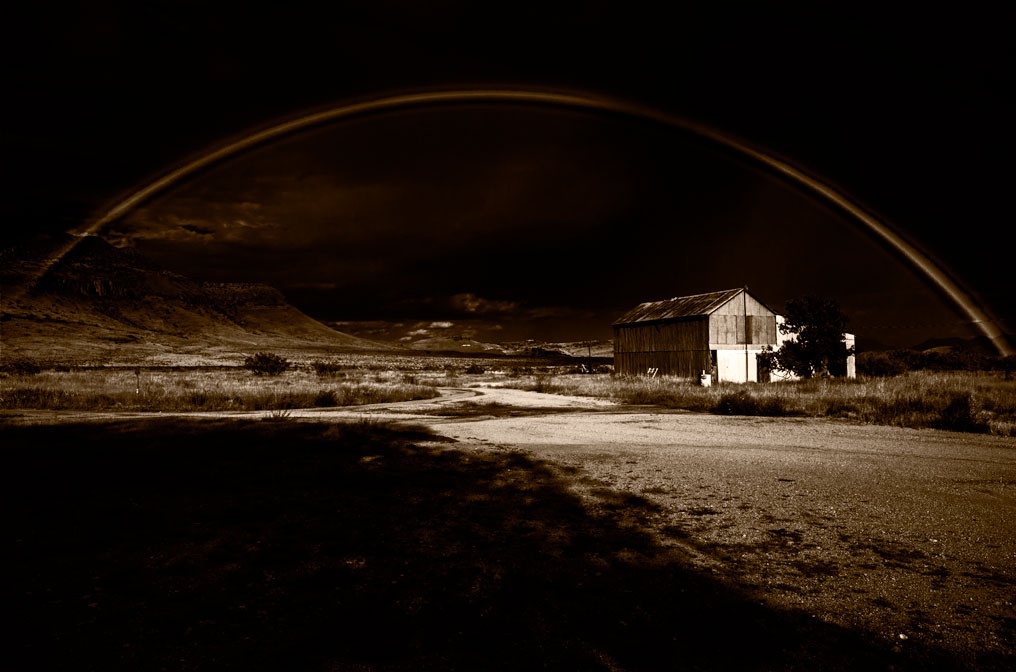
Which is not too far from the initial rough work up:
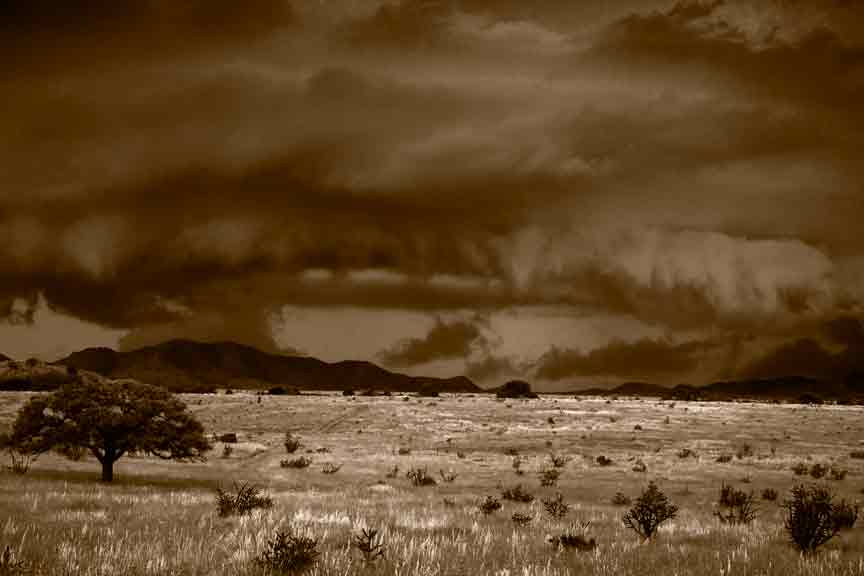
Dead Tree & Fog, and Encircled
In the last several days I showed final versions of the two images below. Dead Tree & Fog was shot on Sept 9th and printed Oct 7th.

Encircled was captured Sept 11th and printed on Oct 14th. At first I thought there was nothing here, but changed my mind later.
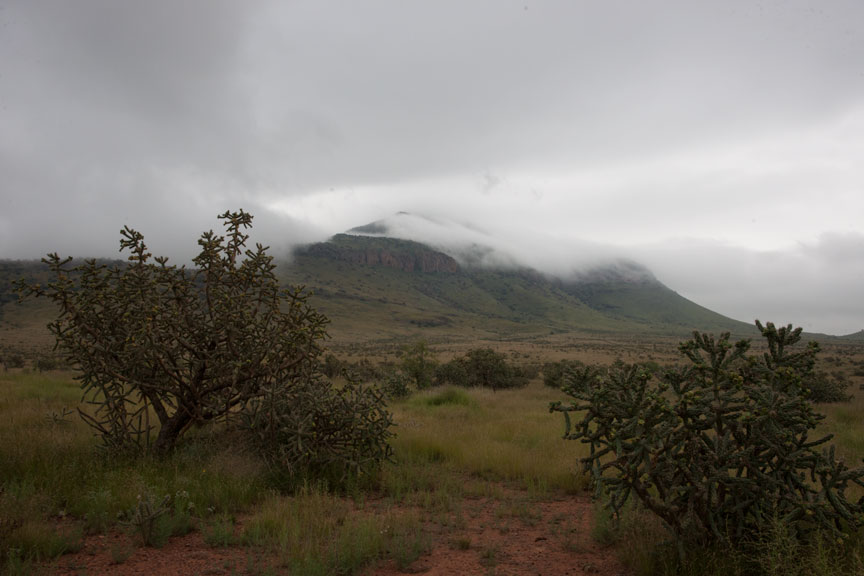
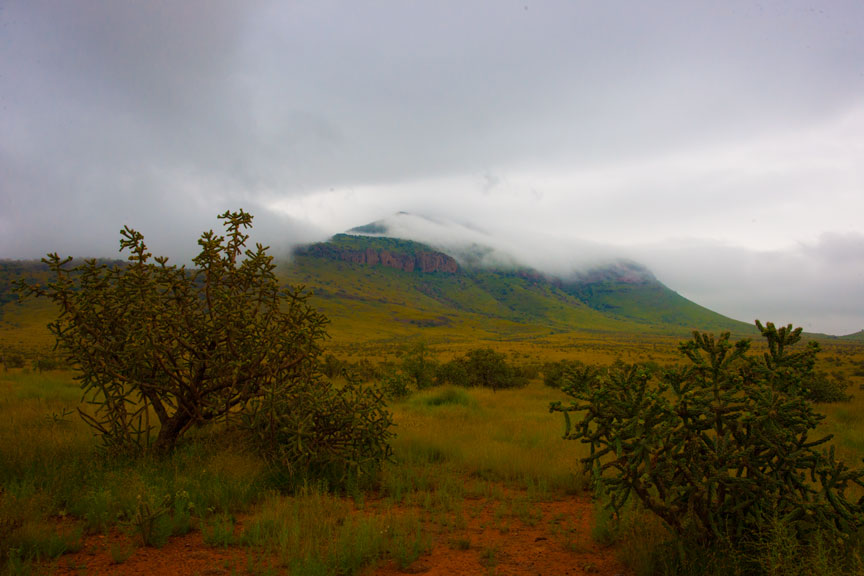
On Sept 12th I showed you the initial capture of the image(s) below, since titled Morning Fog on Blue Mountain
Morning Fog on Blue Mountain
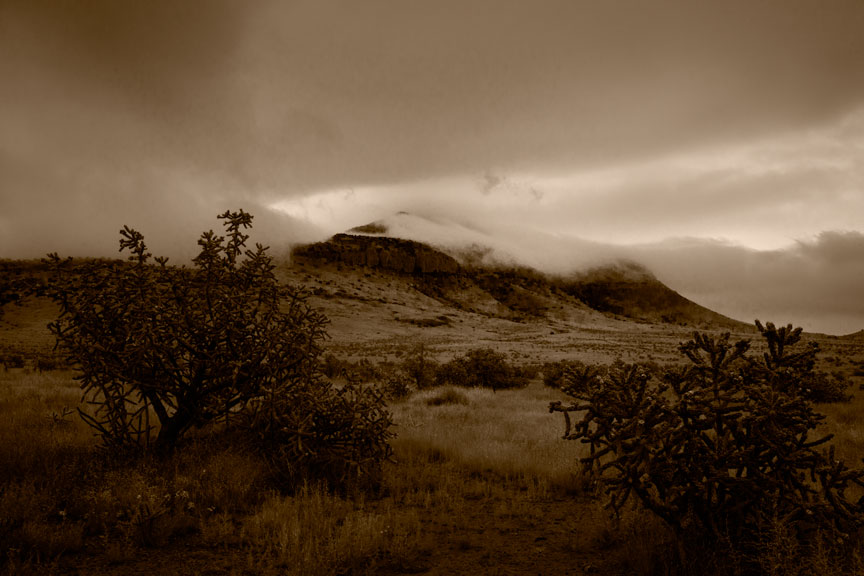
This is the final image as printed:
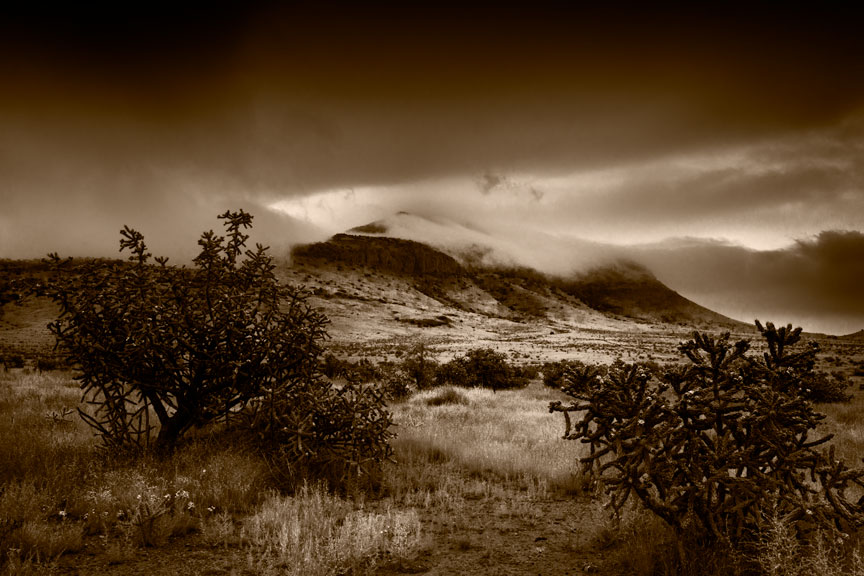
This had to be pushed pretty far. Every part of this image wanted to fall apart with the degree to which I was altering the gray tones. I had to back off a bit from what I wanted because it just wouldn’t hold together that far. This kind of image is the reason big sensors and lots and lots of megapixels are needed for fine art photography. Ideally, I would like to have about a 6×9 cm sensor with about 150 megapixels.
On Aug 8, I captured Vulture Corner, printed Oct 20th. This doesn’t translate at all well into a jpeg. This is actually the second printing. I had finished a version a few days before but just wasn’t completely satisfied with the middle ground. In the process of looking for improvement, I found another capture taken just a few seconds before that showed the vultures better, but was otherwise the same. Tore up the already made prints and printed the new image. It happens.
Vulture Corner
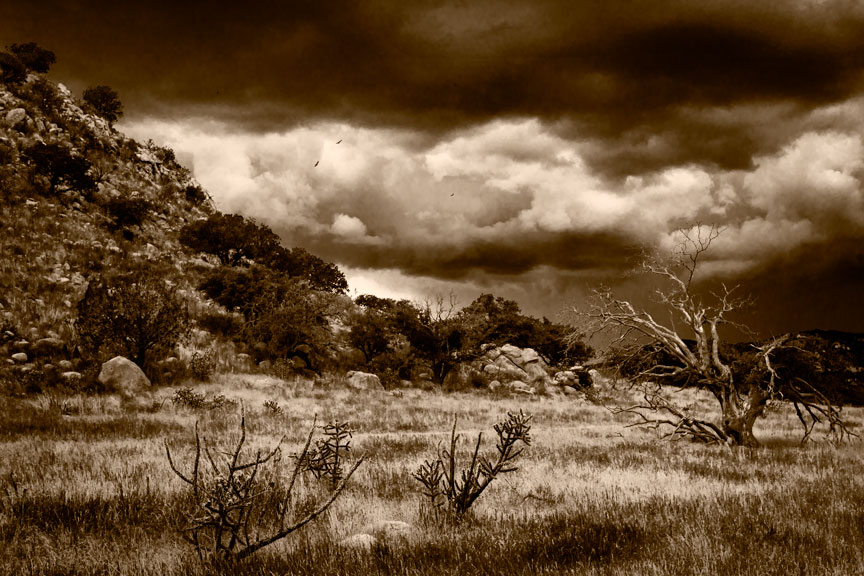

One of the hardest things for people to understand is the difference between what we think we see, what we actually see and what the camera sees and records. What you see just above in the unaltered camera capture looks very different from what I actually saw. The image the camera captures is just as far from reality as what most people think they see when they look at a scene. The fine art photographer has to see what is actually there, what the camera is going to record and what is potentially there in a final print. All are very different. Many a vacation snap shooter has stood at the counter of a photo processor and complained, “I was there and it didn’t look like that!” That is because what was there and what they saw were two different things.
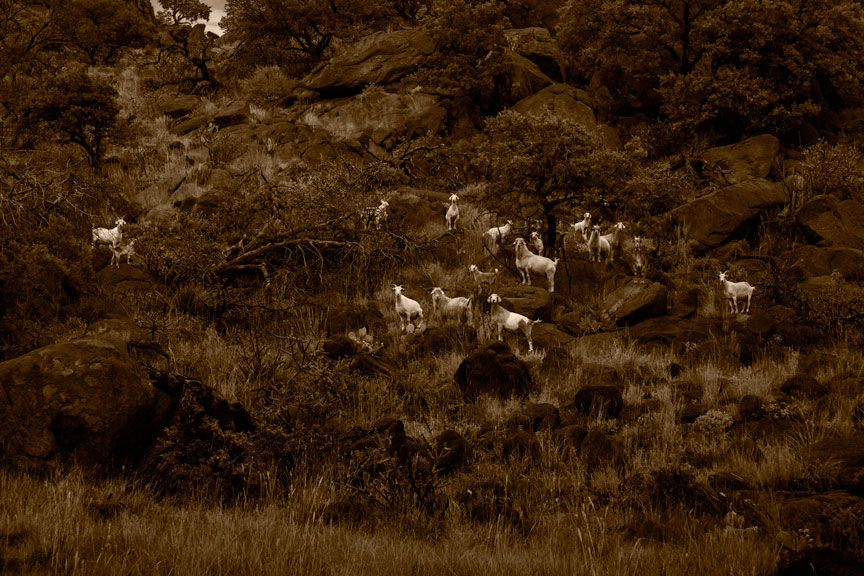
Goats on Lizard Mountain
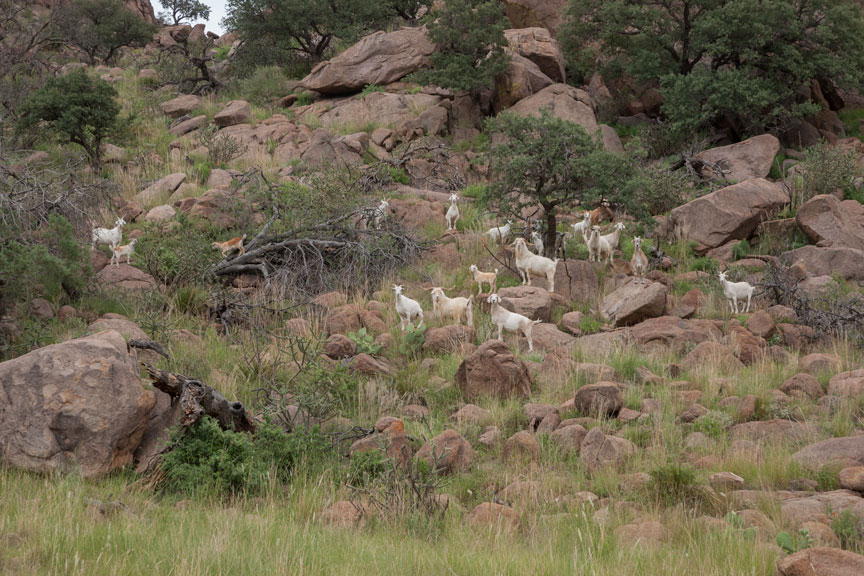
I haven’t shown you this one yet, at all. Goats on Lizard Mountain was an end-of-the-day, spur-of-the-moment thing. These goats roam free and do not like to be approached, but they deigned to array themselves in a pleasing manner exactly once before trotting back up the mountain. It doesn’t look it, but this image is pretty heavily altered. The dark tone of the rocks compared to the light tones in them as seen in the unaltered original capture beneath, should give you an idea of the degree to which this image was pushed. Again with this image, I had to back off a bit because it started to crumble.
This doesn’t look like too tough an image until you see the same capture desaturated, below.
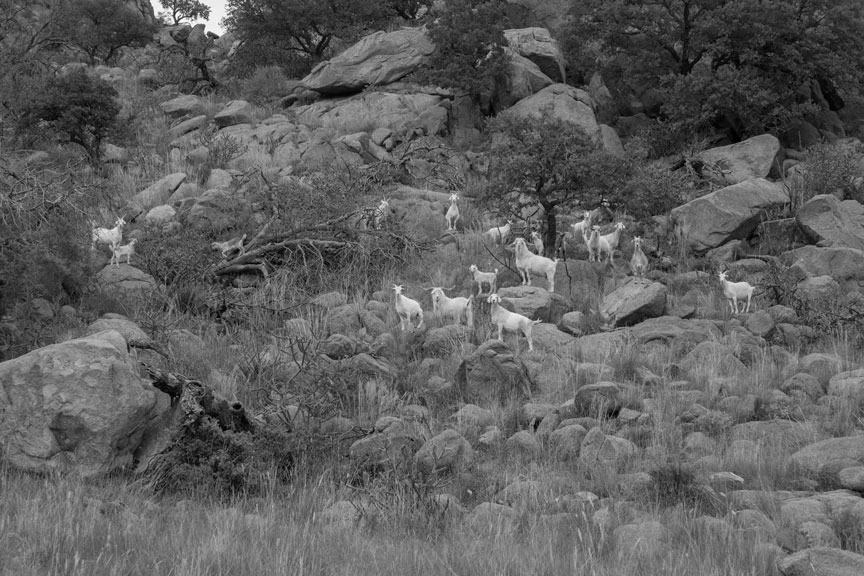
This is why it needed a lot of wrestling with tonal distribution. Just increasing contrast would have resulted in a snappier version of dull.
The other day I showed you Cattle And Lightning which was taken a couple of years ago, but never printed until now. It is not part of the group of recent images captured here on the ranch and is mentioned now only because it was printed at the same time as the others you are seeing.
Cloudburst East of Alpine
Lastly, there is one image shot in 2009, also not part of the recent group, but again printed with the same grouping. This was a very popular image. I have sold a number of these, but started being unhappy with it soon after the initial version was created. In fact, I was so displeased with it that I took it off my gallery walls quite a few months before closing the gallery July 1st.
This is another case where the image doesn’t translate into a jpeg at all well. The first interpretation looks better here than it does on paper, while the new interpretation below it, doesn’t look nearly as good as its printed version. The original was just too contrasty and it was also printed on coated paper, which I have since come to dislike intensely. (Red River Aurora Natural. This is very good paper as coated papers go; they’re just no longer my preference.) The new version is printed on Quiller Cold Press watercolor paper (similar to Arches Cold Press).
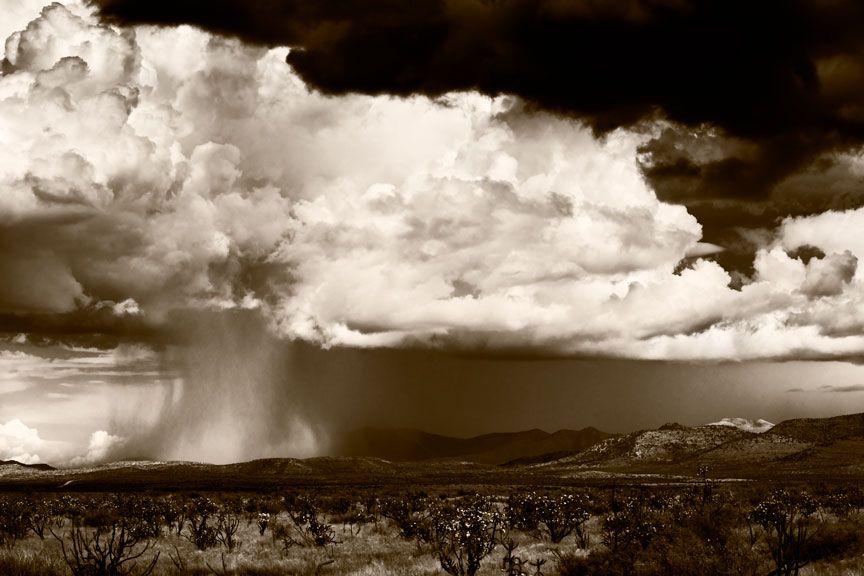
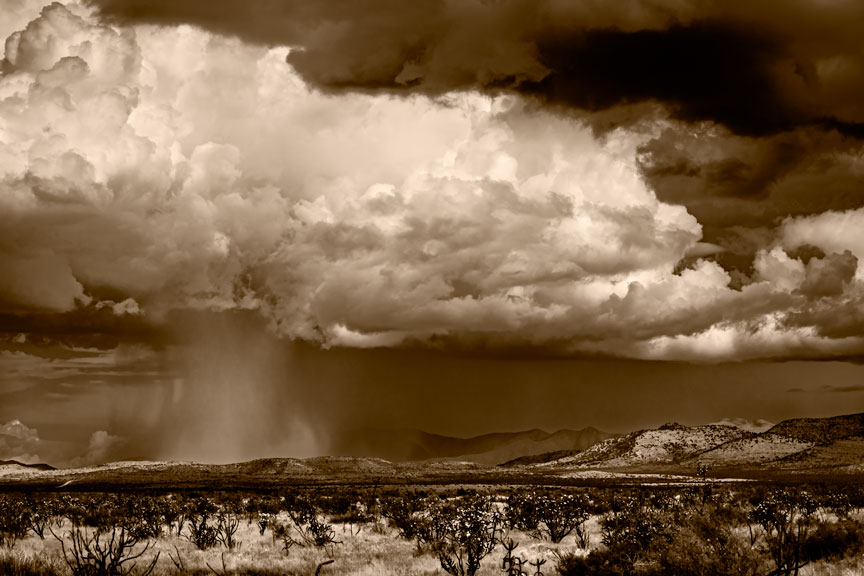
You’ll just have to take my word for it that the second image is vastly superior to the first, even though the opposite may seem true here. It is full of subtlety that just doesn’t come through here. There simply is not, and probably never will be, a good way to translate the nuances of a fine art photograph to internet presentation.
That is the end of the recent printing session. It lasted about three weeks, not counting the initial work ups, which usually last no longer than ten or fifteen minutes. It takes one to three days to reach a final print for an image. Three days is rare, two days is common. Reaching final prints for two images in a single day is very uncommon and good cause for celebration (and usually for starting over on at least one of them, a few days later). Initial work ups usually take place on the same day as capture, or perhaps the next day. Serious printing might not occur for years, as you have seen.
You may recall a number of images show in previous posts that do not appear here. They didn’t make it to final prints, at least not yet. Tomorrow I will post some of those and try to explain why they have fallen by the wayside; some perhaps temporarily, others for good.
dk